|
| Quickie Pillowcase Apron |
You will need to gather an old pillowcase, sew a strap for the waist and two smaller shoulder straps to go around the neck. You can use ribbons, cords or sew your own straps.

Step 2:
Sew the shorter straps onto the top corners of the pillowcase (on the seamed side not on the open side where you would slide your pillow into the case). These are the neck straps. For the waist strap, stitch the longer piece onto the pillowcase - just enough so it holds the waist strap into place. The waist strap should be placed closer towards the top because you need room for pockets.
 |
| Adding straps onto the pillowcase. |
Fold the bottom of the pillowcase up to make pockets. Pin into place then sew the edges to make the pocket. Sew two straight stitches up through the big pocket (like shown in the image below). This will keep your pocket from drooping while creating handy pocket dividers. By using the opened side of the pillowcase (rather than the seamed side) to make the pockets, you'll notice that compartments have doubled for more pocket space. Decorate, embellish...have fun.
 |
| Your repurposed pillowcase - now an apron! |
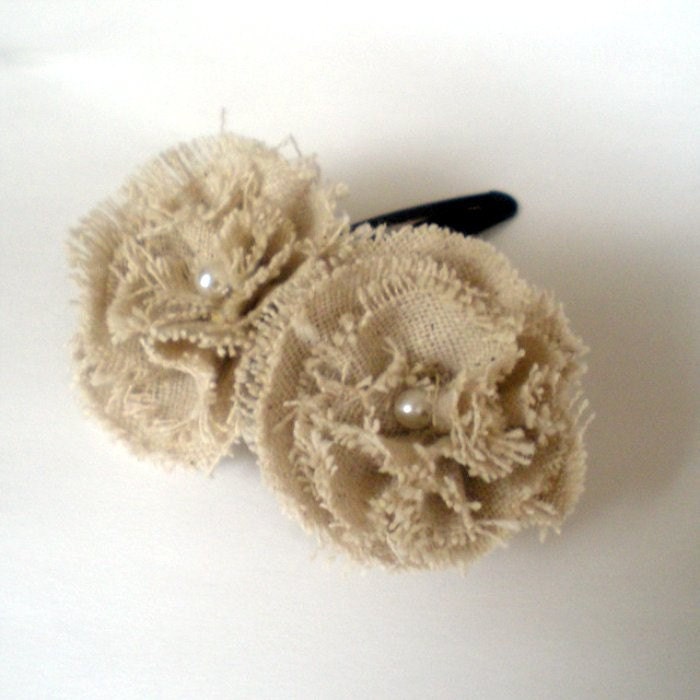
I added one of my frayed flowers by the shoulder.

You'll notice that the apron has a loose, cowl neck fit around the neck. If you would like a tigher fit, just knot the corners by the shoulder straps.

Another collar variation would be to sew a panel at the top where you could make a drawstring collar that would gather around your neck.
This apron would be a great gift if you use a pretty pillowcase. You could add a recipe in the pocket along with fun kitchen tools.
I hope enjoyed this easy craft tutorial!
Ongoing giveaway contest. Submit an entry.
***