Another person who inspires my beaded designs is my 8 year old. I'll call her Kat. Kat likes to draw princesses with long hair that cover one eye. Kat is very possessive with her drawings and requires that I get her permission before I duplicate any of her work. She also instructed me to give her credit whenever I use her work.
Kat's princess drawing.
Transformed into a seed bead charm.
Thank you Kat.
Friday, December 24, 2010
Tuesday, December 21, 2010
About K - the designer
I have a jewelry designer of sorts...she inspires me with her drawings that I turn into beaded creations.
K is 11 years old. She likes to draw, read and write (see her blog at http://waveclan1.blogspot.com/). She loves animals, especially cats. K likes all things bright and colorful. Here is her owl drawing.
Transformed into a beaded charm.
Stay tuned for more K designs.
K is 11 years old. She likes to draw, read and write (see her blog at http://waveclan1.blogspot.com/). She loves animals, especially cats. K likes all things bright and colorful. Here is her owl drawing.
Transformed into a beaded charm.
Stay tuned for more K designs.
Wednesday, December 15, 2010
Jingle All The Way
My Christmas Tree Seed Bead Bracelet is featured in a Treasury created by Brazen Design Group.
Enjoy a 20% discount on your first order when you become a fan of Brazen Design Group on Facebook. The coupon code is listed on the discussion board in Facebook.
Enjoy a 20% discount on your first order when you become a fan of Brazen Design Group on Facebook. The coupon code is listed on the discussion board in Facebook.
Wednesday, December 8, 2010
Marvelous Mustache
Did you know mustaches are a fashion trend...actually, it's an artsy trend according to an Etsy Storque article I just pulled up. I thought it would be fun to work on my own mustache (not a real one on my face). Here it is...
Have a great day!
Monday, December 6, 2010
Santa Seed Bead Charms
Here is a set of cute handmade beaded charms I just completed. The Santa design is a pattern I found online, created by Jennifer Creasey. These Santa charms make a great accessory for the holidays and keeps you in a jolly spirit year round. Use charms for cell phones, bags, backpacks, key rings and more...
Find it here on Etsy and get 15% off using the coupon code 15OFF.
Sunday, November 28, 2010
Raggedy Christmas Wreath
It's time to decorate for Christmas! Here is a simple Christmas wreath tutorial. The cost is minimal and the entire project will take less than an 1 hour to complete. The final product is a funky, raggedy wreath that has a very cute handmade look to it. It's a great appreciation gift to give to teachers, friends and family members especially if your child has a hand in making this holiday project.
You will need:
Step 3: Optional - trim the fabric on your wreath if you want a more "structured" look.
Step 4: Hang your wreath.
This is how the back of the wreath looks like.
Happy Holidays!
You will need:
 |
| Embroidery Ring |
Fabric in your choice of colors that you will tear into strips about 1.5" wide and cut into lengths of 5.5" and one longer piece (any color) about 12" long. It doesn't need to be perfect in size. I used red, checkered red, white and gold fabric.
 |
| Fabric Strips |
Step 1: Tie your fabric strips onto your ring. It doesn't matter where you start but try to alternate the colors. Continue to tie around the entire hoop, leaving a small space to tie a loop for hanging.
 |
| Tie Strips to Ring |
Step 2: When you're nearly done with filling up your ring with your fabric strips, loop the longer piece of fabric onto you ring. This will be used to hang your wreath. Continue to tie more fabric pieces onto your ring until it is completely covered. (I hid the knotted part of my long hanger piece near the hoop base.)
 |
| Make a Hanger |
Step 4: Hang your wreath.
 |
| Completed Wreath |
 |
| Back View |
Thursday, November 25, 2010
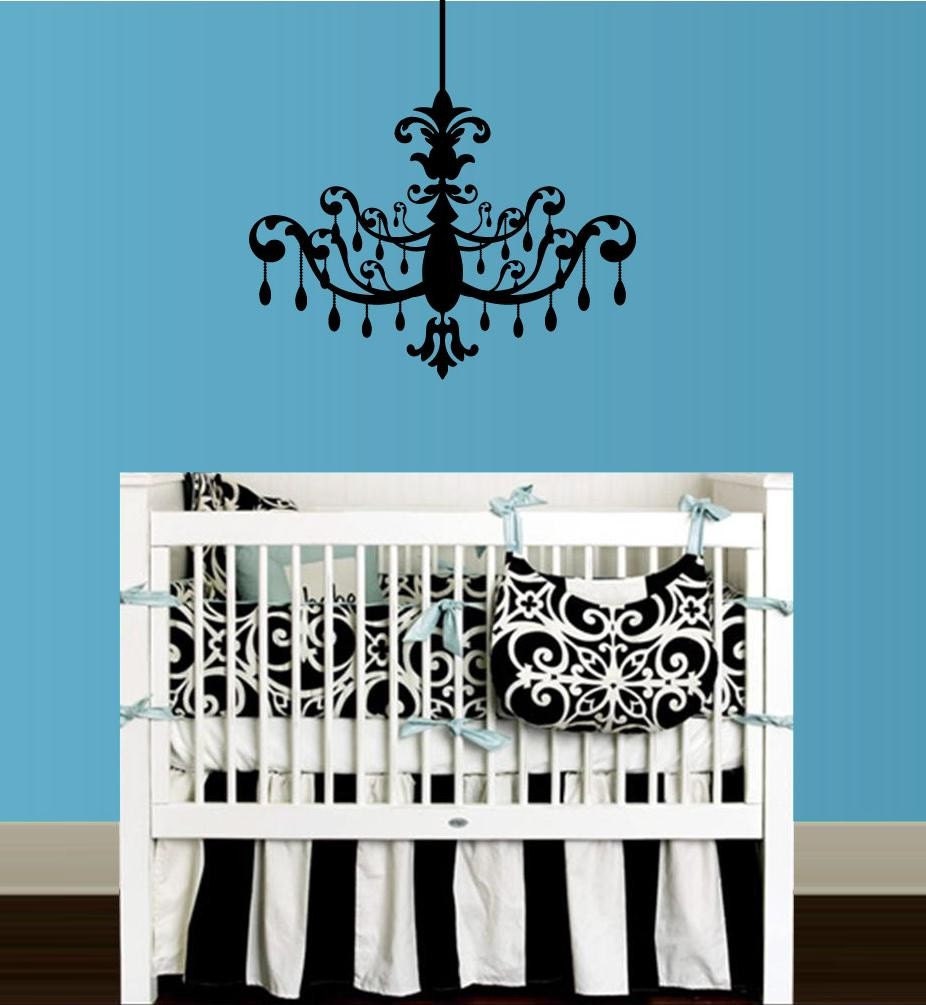
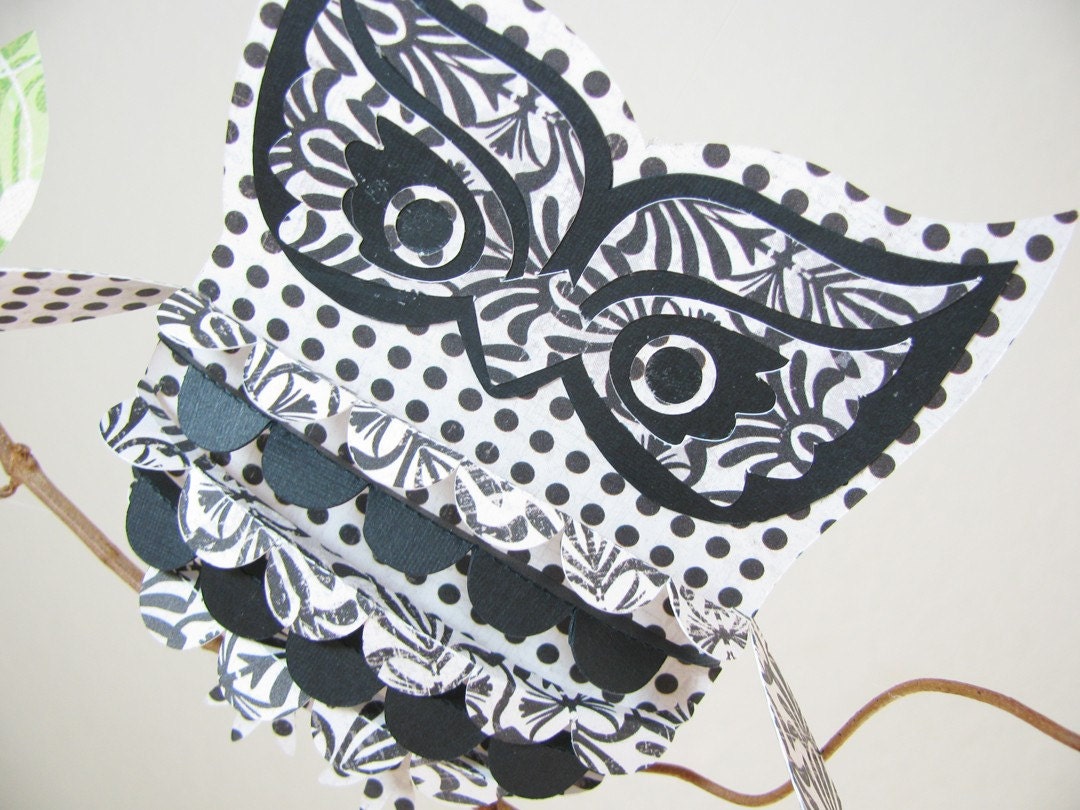
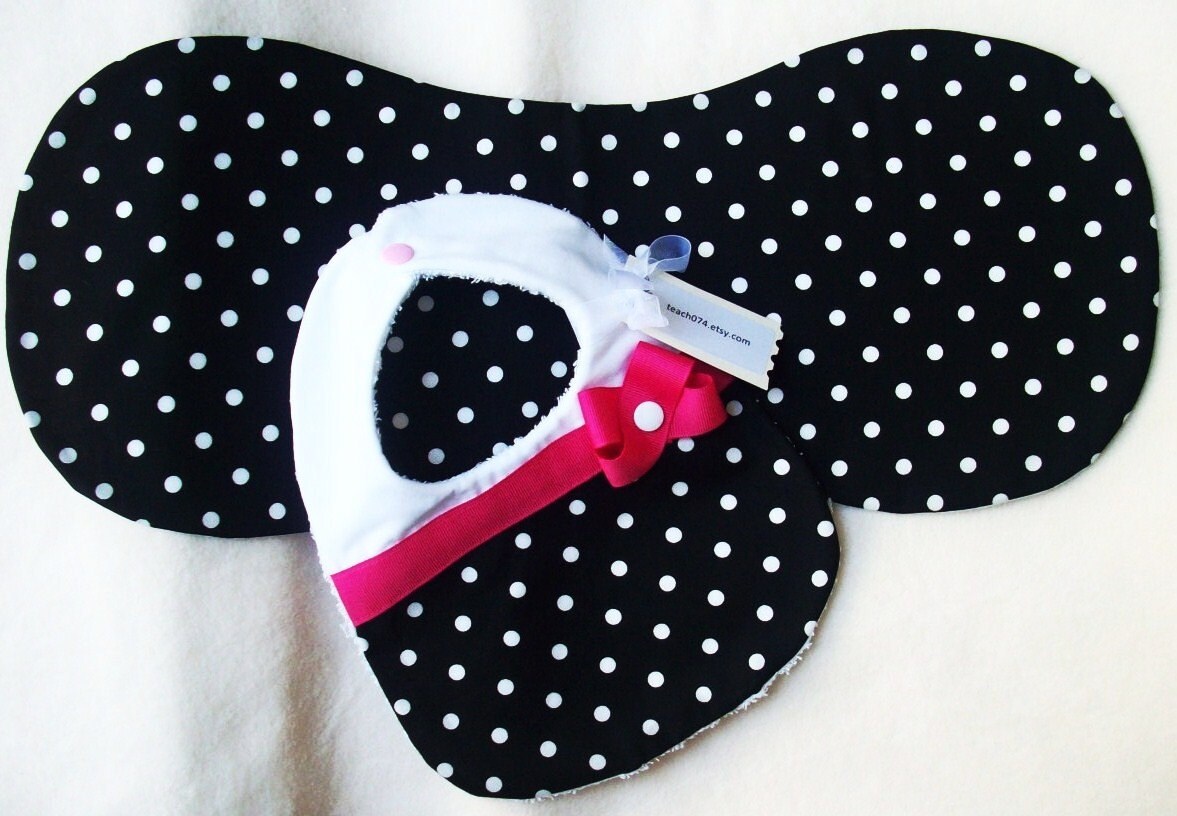
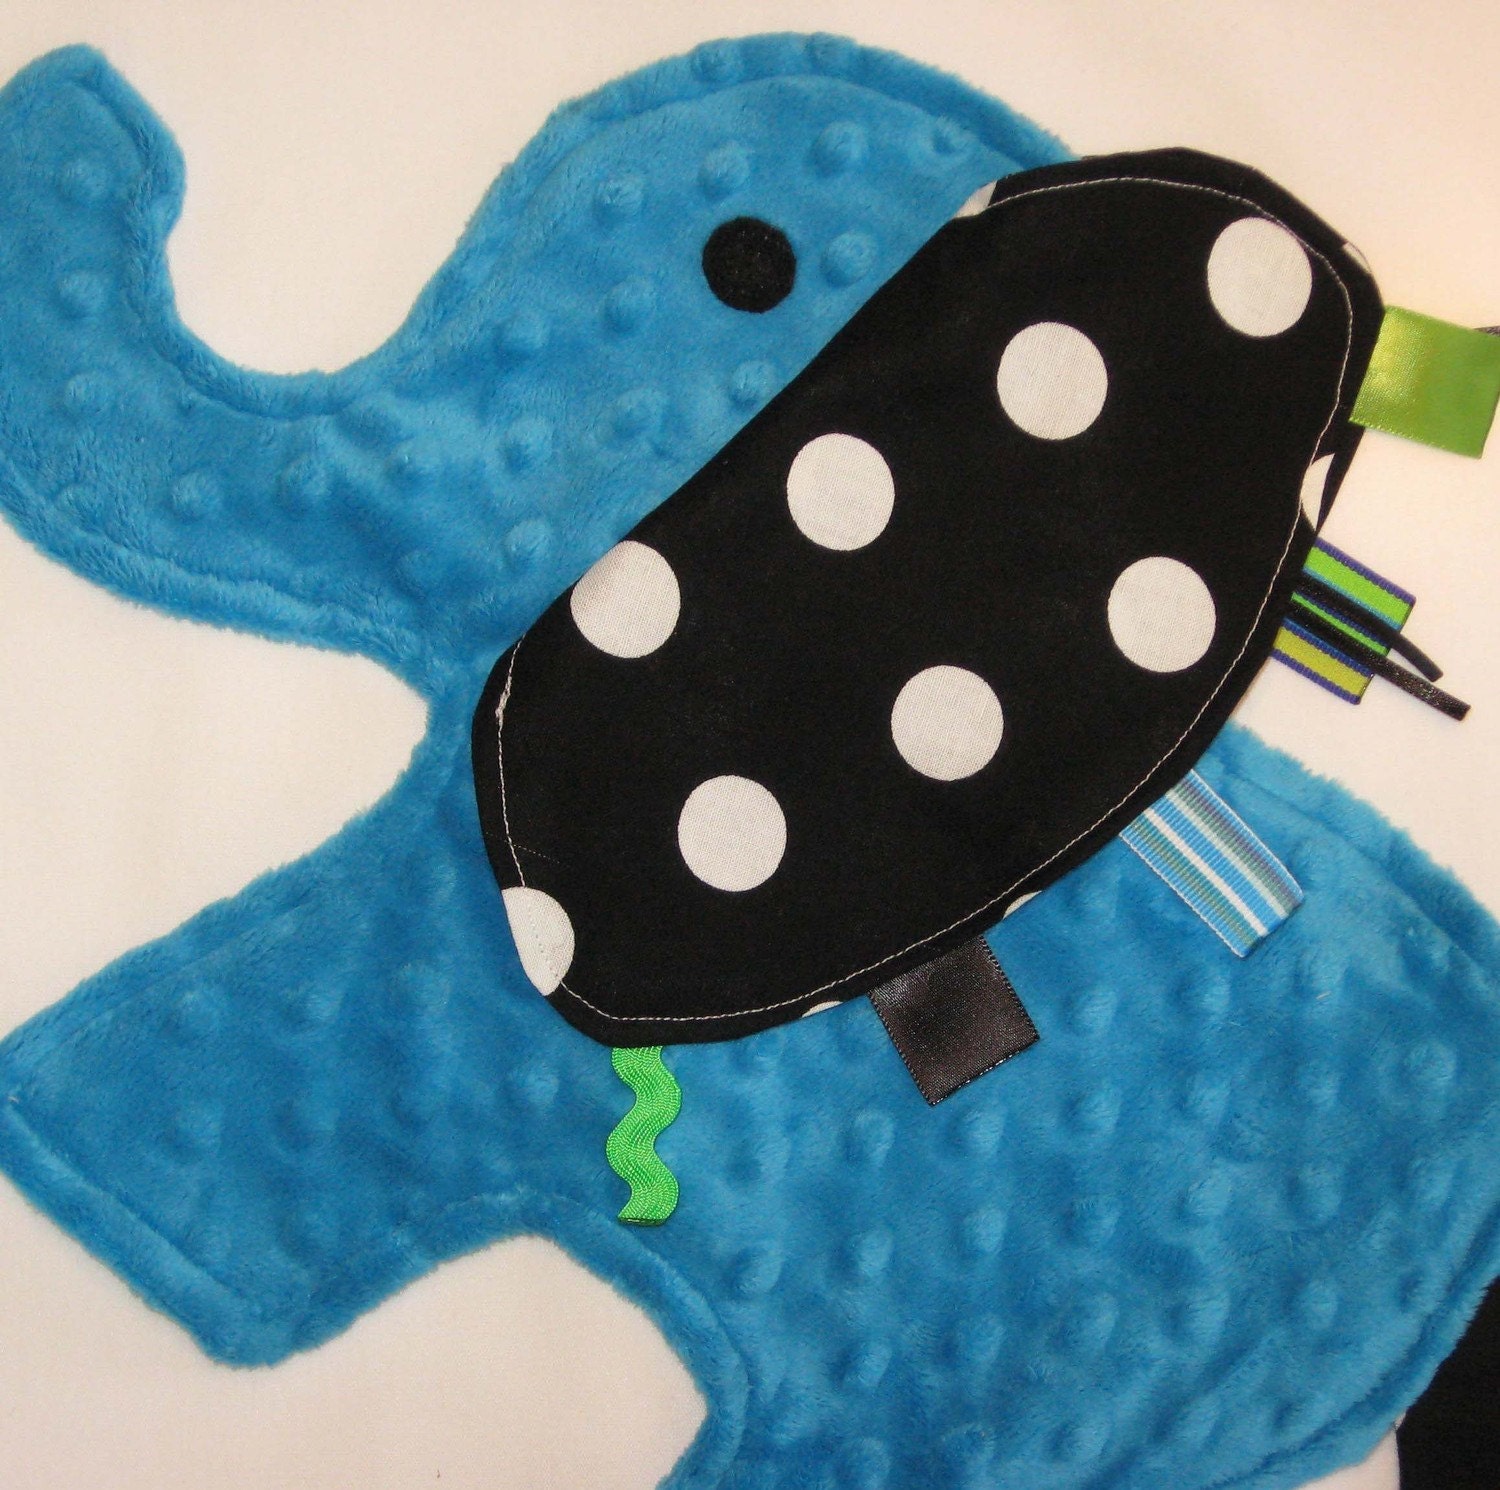
Baby's First Black (& White) Friday: An Etsy Treasury
Happy Thanksgiving! I know some of you are still feasting on your Thanksgiving meals but if you are ready for some Christmas shopping, here are some wonderful gift ideas for baby's first Christmas. There are many Black Friday deals going on right now. Just enter "black friday" in the Etsy search box and have fun.
Come see the rest of my Treasuries and tell me what you think! I'd love to hear from you.
Baby's First Black (& White) Friday - Gift Ideas
Generated using Treasury HTML code generator by Whale Shark Websites.
Come see the rest of my Treasuries and tell me what you think! I'd love to hear from you.
Wednesday, November 24, 2010
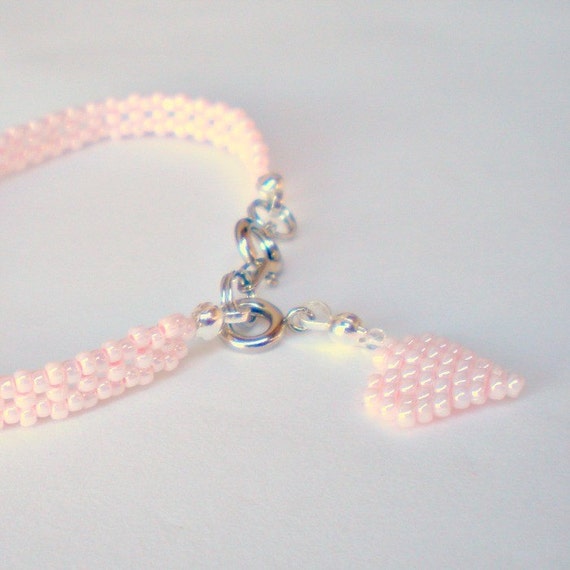
Simple Baby Pink Bracelet with Heart Charm
I just added this baby pink beaded bracelet to my Etsy shop. It comes with a removable matching heart charm.
The bracelet measures 7 inches in length (about 18 cm) with the silver plated spring clasp. A fun gift for the young and young at heart. Great bracelet for layering with other bracelets from my shop.
Come and see my other items at Handmade Cute on Etsy and remember to stop by for the November 26 Black Friday Sale.
Thursday, November 18, 2010
More Etsy Journey-ing
Thank you everyone who entered my first giveaway contest. Eclairre (cute name) was announced the winner and she has already received her prize - the spiral rope bracelet. I'm happy to say that Eclairre emailed me to say that she is very pleased with her prize.
The contest was a lot of fun and it did bring more visitors to my blog and shop. I think having my post featured on the Etsy Giveaways and By Hand Giveaways blogs helped to get the word out. I was shivering in my seat thinking I would not get any contest participants but I am happy with the 9 entries I did receive.
Here are my questions about this experience:
- Why did I get visitors to my post yet the visitor chose not to enter the contest when winning was sooo easy?
- Is it because my product is undesirable?
- Is it too much work to enter? (but then other sites using the same entry methods get tons of entries.)
- Is it a security/privacy issue?
- Some other reason?
If you have any thoughts/answers/advice for me, I'd love to hear from you. Think I'll go work on a bracelet now. Here is my latest on Etsy.
 |
| Spiral Rope Bracelet, Turquoise/Black |
.
Sunday, November 14, 2010
The Color Puce, An Etsy Treasury
What color is puce?
Puce is a color that ranges from reddish-brown to purplish-brown or sometimes described as grayish-crimson.
Puce, as a name, does not sound very pretty but look at the beautiful collection of art I discovered on Etsy using the color puce!
The Color Puce
OhMay Designs
delightworthyn
Kokosh Knitting
free hippie
Motley Muse
Life in Sugar Hollow
Photowork by Dawn
Knot Original
CC Star
Ayca
The Screaming Needle
wapa
Puce is a color that ranges from reddish-brown to purplish-brown or sometimes described as grayish-crimson.
Puce, as a name, does not sound very pretty but look at the beautiful collection of art I discovered on Etsy using the color puce!
The Color Puce
Come check out the other elegant designs in the warm color of puce here on Etsy Treasuries.
Thank you to the following artists:
delightworthyn
Kokosh Knitting
free hippie
Motley Muse
Life in Sugar Hollow
Photowork by Dawn
Knot Original
CC Star
Ayca
The Screaming Needle
wapa
Saturday, November 13, 2010
Quickie Child's Apron
For the child who wants to help out in the kitchen or dress up, here's a tutorial on how to quickly make a child's apron. An old pillowcase can be repurposed and made into a cute apron. This craft project required only a little sewing and the finished apron looks like this.
Step 1:
You will need to gather an old pillowcase, sew a strap for the waist and two smaller shoulder straps to go around the neck. You can use ribbons, cords or sew your own straps.
Step 3:
Fold the bottom of the pillowcase up to make pockets. Pin into place then sew the edges to make the pocket. Sew two straight stitches up through the big pocket (like shown in the image below). This will keep your pocket from drooping while creating handy pocket dividers. By using the opened side of the pillowcase (rather than the seamed side) to make the pockets, you'll notice that compartments have doubled for more pocket space. Decorate, embellish...have fun.
You've completed your child size apron made from an old pillowcase!
I added one of my frayed flowers by the shoulder.
You'll notice that the apron has a loose, cowl neck fit around the neck. If you would like a tigher fit, just knot the corners by the shoulder straps.
Another collar variation would be to sew a panel at the top where you could make a drawstring collar that would gather around your neck.
This apron would be a great gift if you use a pretty pillowcase. You could add a recipe in the pocket along with fun kitchen tools.
I hope enjoyed this easy craft tutorial!
Ongoing giveaway contest. Submit an entry.
***
 |
| Quickie Pillowcase Apron |
You will need to gather an old pillowcase, sew a strap for the waist and two smaller shoulder straps to go around the neck. You can use ribbons, cords or sew your own straps.
Step 2:
Sew the shorter straps onto the top corners of the pillowcase (on the seamed side not on the open side where you would slide your pillow into the case). These are the neck straps. For the waist strap, stitch the longer piece onto the pillowcase - just enough so it holds the waist strap into place. The waist strap should be placed closer towards the top because you need room for pockets.
 |
| Adding straps onto the pillowcase. |
Fold the bottom of the pillowcase up to make pockets. Pin into place then sew the edges to make the pocket. Sew two straight stitches up through the big pocket (like shown in the image below). This will keep your pocket from drooping while creating handy pocket dividers. By using the opened side of the pillowcase (rather than the seamed side) to make the pockets, you'll notice that compartments have doubled for more pocket space. Decorate, embellish...have fun.
 |
| Your repurposed pillowcase - now an apron! |
I added one of my frayed flowers by the shoulder.
You'll notice that the apron has a loose, cowl neck fit around the neck. If you would like a tigher fit, just knot the corners by the shoulder straps.
Another collar variation would be to sew a panel at the top where you could make a drawstring collar that would gather around your neck.
This apron would be a great gift if you use a pretty pillowcase. You could add a recipe in the pocket along with fun kitchen tools.
I hope enjoyed this easy craft tutorial!
Ongoing giveaway contest. Submit an entry.
***
Friday, November 12, 2010
Friendship Friday
What is the best thing that happened to you this week?
I made a new friend. While doing what I normally do in my day, I met a mom and instantly we realized that we had a lot in common. We decided to get together and chat...Starbucks Coffee, an Oat Cake and great conversation. I'm glad there are so many nice people in this world!
Have a wonderful weekend and thank you so much!
Current giveaway link: Enter to win!
I made a new friend. While doing what I normally do in my day, I met a mom and instantly we realized that we had a lot in common. We decided to get together and chat...Starbucks Coffee, an Oat Cake and great conversation. I'm glad there are so many nice people in this world!
 |
| Leilani at the Movies |
Speaking of nice people, I was very, very suprised when I received a box in the mail from Joy from the Joy of Crafting blog. My family hosted Flat Leilani during the summer as part of a JOC project. We were already rewarded by bringing Leilani around on our activities but Joy also sent me these goodies.
 |
| Cute Stickers |
 |
| Little Bird Project Book |
 |
| Stamps, Ribbons and Photo Frame to Decorate |
 |
| Colored Masking Tape |
 |
| Bead Storage Box and Creative Captions |
Have a wonderful weekend and thank you so much!
Current giveaway link: Enter to win!
Wednesday, November 10, 2010
Frayed Flowers Tutorial
I have this frayed flower listed on Etsy but you can make your own in just a few steps.
Remember to enter the Spiral Rope Bracelet Giveaway!
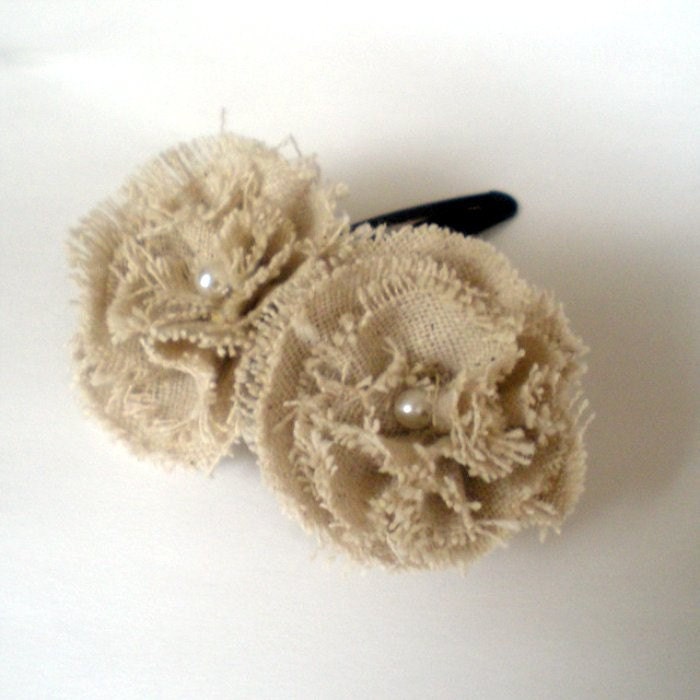 |
| Frayed Flowers Hair Clip |
- Using a cup as a template, I traced the rim on my fabric.
- I cut it out.
- By freehand, I cut the fabric in a continuing spiral pattern - thicker on the outer ring and getting smaller as you near the center.
- Using a straight stitch, sew the spiral near the edges where you just cut. I started from the inside and moved out.
- Gather along the stitch and arrange into a flower pattern.
- Sew a bead or button in the center of the flower.
- Finally, using a glue gun, I glued the flower to the snap pin. (Make sure your flower does not fray from the center out by making sure you glue close to the edge where you sewed.)
Remember to enter the Spiral Rope Bracelet Giveaway!
Monday, November 8, 2010
Please Enter for a Chance to Win...
Okay folks...here goes! My first Handmade Cute Craft Giveaway!
The prize is...
2. Open to adults 18 and over from US.
3. Winner will be chosen by Random.org.
4. Winner will be announced Tuesday, November 16 and will have 3 days to claim prize via email.
How to Enter: (Leave a separate comment for each entry).
1. Leave a comment below for one entry.
2. Follow HandmadeCute on Twitter. Leave a comment and your Twitter ID please. 1 additional entry ~ optional,
3. Share this on Twitter then leave a comment with your tweet link. 1 additional entry ~ optional.
4. Share this on Facebook and leave a comment with your link. 1 additional entry ~ optional.
5. Share this on your personal blog and leave a comment with your link. 1 additional entry ~ optional.
Okay, that's it! Good luck and tell your friends about this giveaway.
More information and photos for this bracelet are available in my Etsy shop.
Thanks so much!
The prize is...
A cute, handmade Lemon-Lime Spiral Rope bracelet. I love this piece for its bright, fresh colors. It's tart, sassy and sweet all at the same time.
This bracelet was carefully weaved by hand using the spiral rope stitch method. Many tiny size 8, Japanese Toho seed beads were used to create this piece. The total length of the bracelet is 7.25 inches. Fasten the bracelet to your wrist with the pretty silver plated toggle clasp. A yellow heart charm finishes off the look.
Rules:
1. Contest dates (Hawaii time - Time Converter)
Monday, November 8, 2010 at 7:00:00 AM
Monday, November 15, 2010 at 7:00:00 AM2. Open to adults 18 and over from US.
3. Winner will be chosen by Random.org.
4. Winner will be announced Tuesday, November 16 and will have 3 days to claim prize via email.
How to Enter: (Leave a separate comment for each entry).
1. Leave a comment below for one entry.
2. Follow HandmadeCute on Twitter. Leave a comment and your Twitter ID please. 1 additional entry ~ optional,
3. Share this on Twitter then leave a comment with your tweet link. 1 additional entry ~ optional.
4. Share this on Facebook and leave a comment with your link. 1 additional entry ~ optional.
5. Share this on your personal blog and leave a comment with your link. 1 additional entry ~ optional.
Okay, that's it! Good luck and tell your friends about this giveaway.
More information and photos for this bracelet are available in my Etsy shop.
Thanks so much!
Sunday, November 7, 2010
Giveaway
Hello Everyone!
For those who are following my blog, you may know that I am trying to "get serious" about my crafting and selling on Etsy. Some days I'm more serious than others...whew! seriousness is hard work! I noticed all the people having fun with "giveaways" and I'm into fun so as soon as I can work out the details, I'm going to give it a shot.
This is what I learned about giveaways.
- Sponsoring a giveaway is a wonderful way to promote and get new traffic to your site.
- Give away something of value that represents your style.
- Your giveaway item should be attractive as if you are selling it.
- Don't make it hard for the readers to win your item.
- Don't drag out the qualifying period.
- Be clear about the rules.
- Don't annoy your readers/followers by constantly harping them about your giveaway.
- Reach out to other networks that promote giveaways.
- Host your giveaway on another blog that has more traffic than your own blog.
- Treat your winner like a customer and follow through.
Wednesday, November 3, 2010
Knots in Her Hair
Easy to make but very cute hair clips!
Tied each one into loose knots.
I got a scrap piece of fabric and cut it into two 3" x 3" squares.
I rolled it up.Tied each one into loose knots.
Used my glue gun to stick it onto snap hair clips.
Monday, October 11, 2010
Before and After Photos
I am still working on improving my photos. Here are before and after photos I have worked on using Piknic.
Before
***
After
In this photo I tried to give an idea of the size of my pumpkin by using my hand as a reference, worked on the lighting and edited the background with a little blur.
Friday, October 8, 2010
Photography
I've been dilly-dallying, trying to not think about this section called "Item Photography" in the Etsy Success for Beginners Sellers guide because I need serious improvement in this area.
There are so many "how-to" photography articles and I get overwhelmed by the details. Things to consider are...
More on this topic:
Beginning of Success...I hope!
It's All in the Name
Shop Set Up
There are so many "how-to" photography articles and I get overwhelmed by the details. Things to consider are...
- Lighting. What I remember about this is - natural lighting is best.
- Background. I experiment but try to stick with white because when I'm adjusting the image on my photo software, I know my background should be white. If it turns purple, I know I'm waaaayyyy off from my item's real color.
- Close-Ups. I know I should be using macro mode.
- Angles. I know taking shots from different angles creates a something that is more interesting.
- Cropping. I know nothing.
- Grouping. Just put 'em all together right?
- Additional Photos. The customer needs to know what he/she is buying so the additional photos should give an idea of size, texture, smell... I definitely need improvement in this area.
- Upselling. Is there something else in my store that will go good with this purchase? Hmmm...I mention getting a gift box. I'm sure I can work on this part while actually having fun.
- Editing. Need help. The article mentions Piknic, Picasa and Gimp. I've tried Piknic and Picasa. Maybe I can learn Gimp.
Beginning of Success...I hope!
It's All in the Name
Shop Set Up
Wednesday, October 6, 2010
Happy Halloween Treasury
I feel soo honored that My Hobby Shop felt my little pumpkin charm was up to snuff to be placed in his Happy Halloween Treasury (and right next to the a magnificent Day of the Dead, Paper Mache Mask!).

This is a wonderful Treasury with the magic and bewitchery of Halloween. You may also be inclined to visit My Hobby Shop's Etsy store to see the array of glamourous merchandise.

This is a wonderful Treasury with the magic and bewitchery of Halloween. You may also be inclined to visit My Hobby Shop's Etsy store to see the array of glamourous merchandise.
Subscribe to:
Posts (Atom)


